Environment
Reflection for UNIX and OpenVMS 2011 (R1 or R2)
Reflection for UNIX and OpenVMS version 14.x
Reflection for ReGIS Graphics version 14.x
Reflection for HP with NS/VT version 14.x
Reflection for Secure IT Windows Client version 7.0 or higher
Situation
This technical note explains how to remap a key in Reflection to generate an ASCII 30, which is also known as a control ^, control caret, or the control sequence Ctrl+Shift+6. This command is commonly used to suspend telnet sessions to a Cisco router.
Note: This technical note does not apply to Reflection 2011 R3 or Reflection 2014; the key mapping works as expected.
Resolution
Mapping a Key
Follow the steps to map a key for the Reflection product that you are using.
Reflection 2011
- Open a Reflection Session window.
- Click Disconnect.
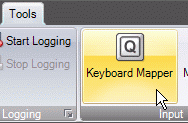
- Click the Tools tab, and then click Keyboard Mapper.
- With your cursor in the Map Keys field, simultaneously press Ctrl + Shift + 6 on your keyboard. "Shift, Control+6" will appear in the Map Keys field.
- Click Select Action.
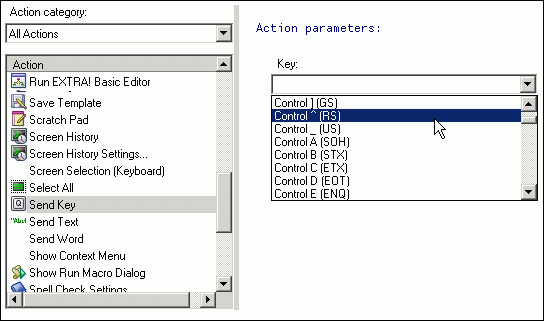
- In the Action list, select "Send Key."
- In the Key drop-down list, select "Control ^ (RS)."
- Click OK.
If the key combination is already mapped, you are prompted to approve the remapping. If the remapping is correct, click Yes.
Reflection 14.x or Reflection for Secure IT Windows Client
- Open a Reflection Session window. Do not connect.
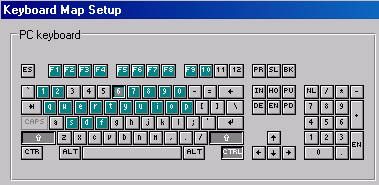
- Click Setup > Keyboard Map.
- On the virtual keyboard displayed in the PC keyboard section of the Keyboard Map Setup dialog box, click the CTRL, Shift, and 6 keys.
- Under Action, select the Commands radio button.
- In the Command field, enter transmit chr$(rcRS)
- In the Command type field, select Visual Basic from the drop-down list.
- Click Map (above the Action section).
- Click OK.
- Connect and test the key press sequence. If it works, save the settings file by clicking File > Save.


